Appearance
Settings
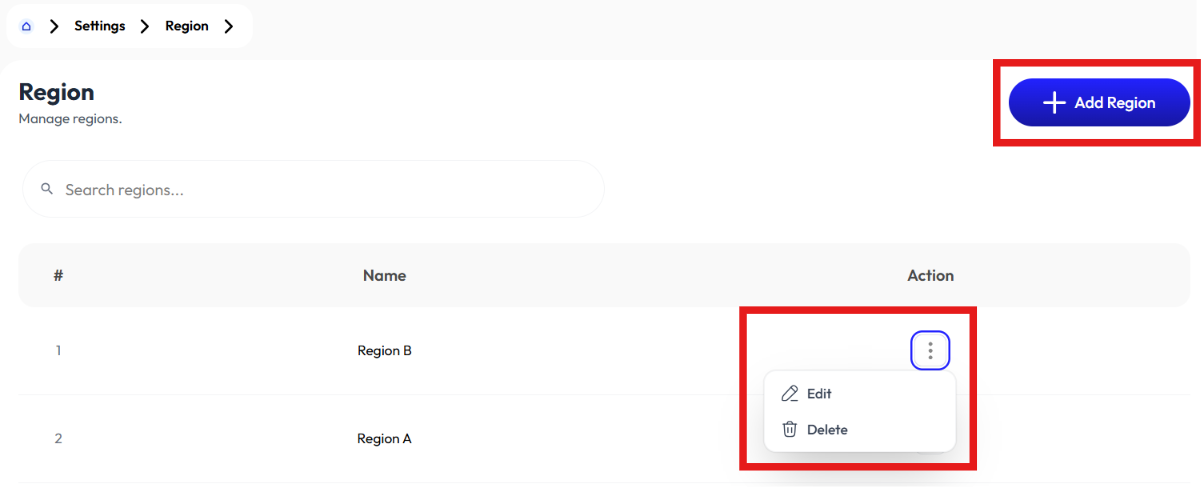
Region
- User creates region using the Add Region button.
- User modifies region's information using the Edit button.
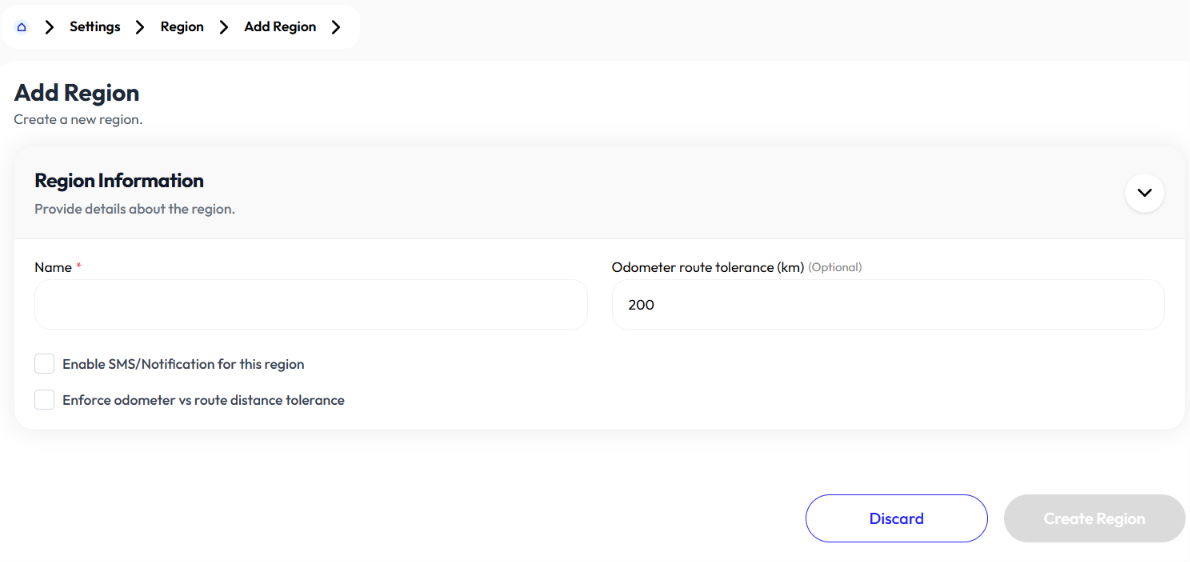
Add Region
- Click add region button
- Enter name
- Enable SMS notification (optional)
- Enforce odometer vs route distance tolerance (optional)
- If enforce odometer is enabled enter odometer route tolerance in km
- Click create region
Edit Region
- Click action button
- Click edit
- update name
- Enable SMS notification (optional)
- Enforce odometer vs route distance tolerance (optional)
- If enforce odometer is enabled enter odometer route tolerance in km
- Click save changes
User and Role
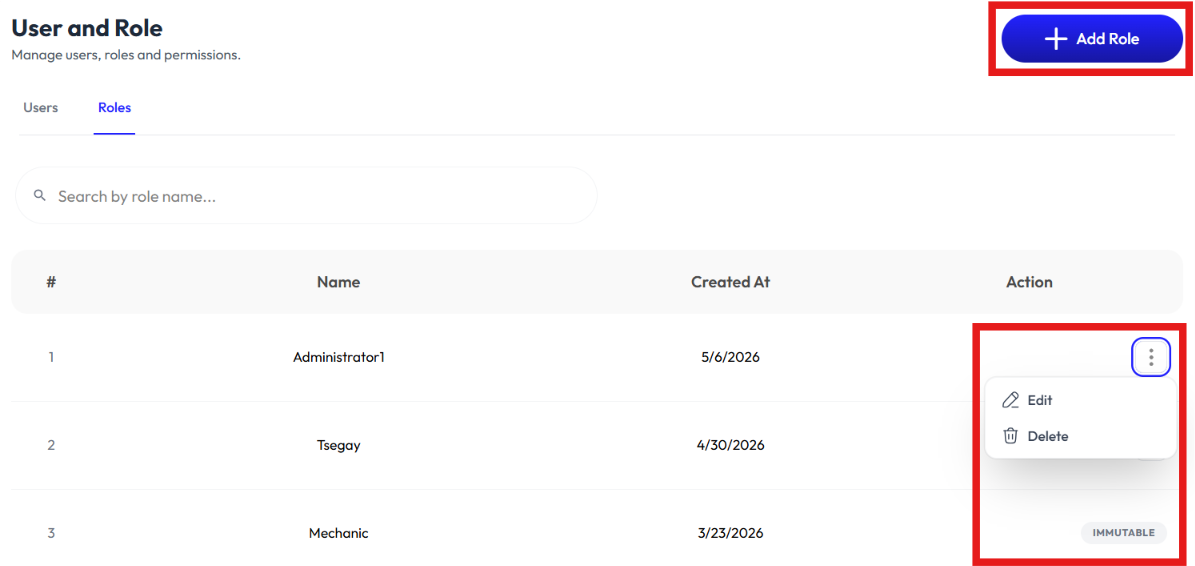
Roles
- User creates roles using the Add Role button.
- User modifies role's information using the Edit button. Roles having "immutable" as their action are not modifiable.
- User removes a role using the Delete button.
- User searches for existing roles by inputting roles names in the search bar.
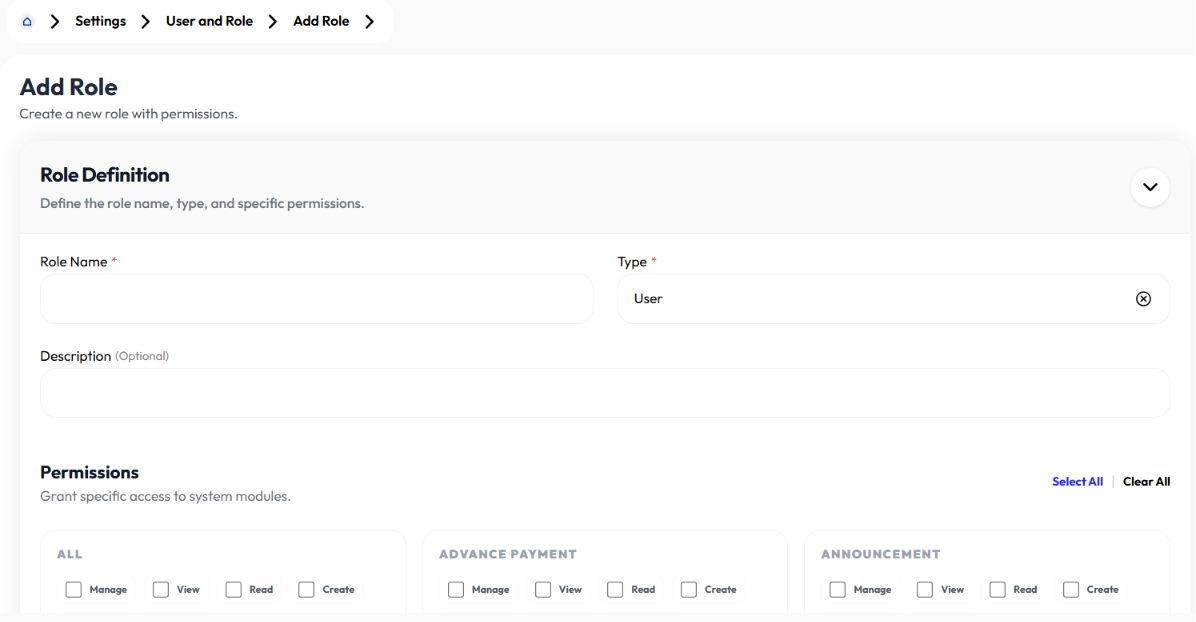
Add Role
- Click add role button
- Enter role name
- Select type(admin or user)
- Enter description (optional)
- Select Permissions
- Click create role
Edit Role
- Click action button
- Click edit
- Update role name
- Update type(admin or user)
- Update description (optional)
- Update Permissions
- Click save changes
Delete Role
- Click action button
- Click delete
- Click ok
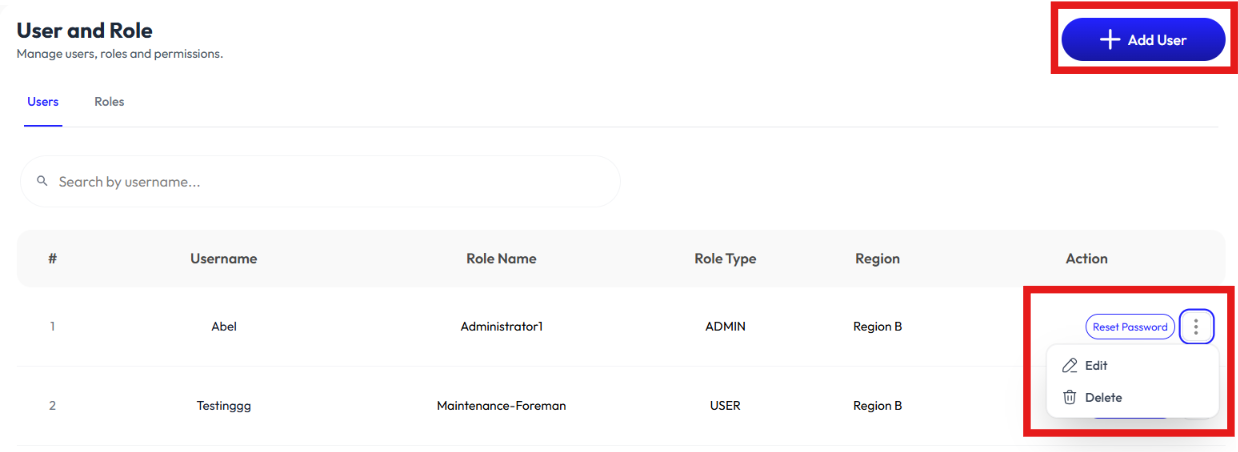
Users
- User creates users using the Add User button.
- User modifies user's information using the Reset Password and Edit buttons.
- User deletes a user using the Delete button.
- User searches for existing users by inputting user's names or role name in the search bar.
Add User
- Click add user button
- Enter user name
- Enter password or click generate password
- Confirm password
- Select role. To add role check Add Role.
- Select region (optional). To add region check Add Region.
- Click register

Reset Password
- Click reset password button.
- Enter password or click generate password
- Confirm password
- Click register
Edit User
- Click action button
- Click edit
- Update user name
- Select role. To add role check Add Role.
- Select region (optional). To add region check Add Region.
- Click save changes
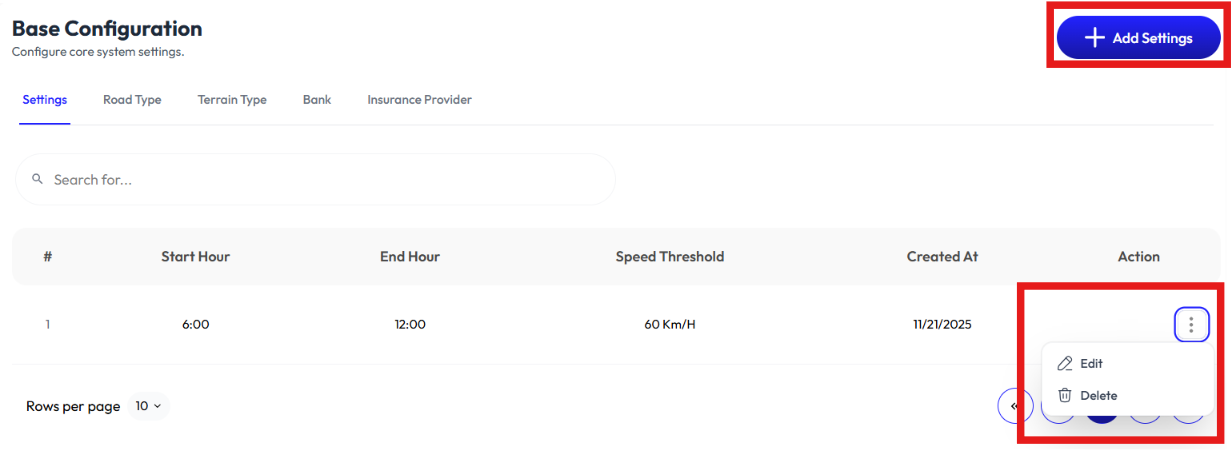
Base Configuration
Settings
- User creates carrier settings using the Add Setting button.
- User modifies carrier settings using the Edit button.
- User deletes a carrier settings using the Delete button.
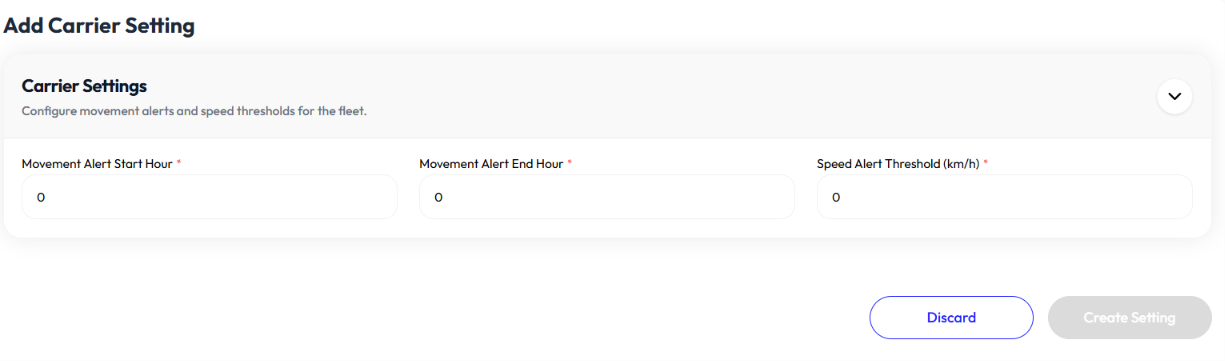
Add Setting
- Click add setting button
- Enter movement alert start hour
- Enter movement alert end hour
- Enter speed alert threshold
- Click create setting
Edit Carrier Setting
- Click action button
- Click edit
- Update movement alert start hour
- Update movement alert end hour
- Update speed alert threshold
- Click save changes
Delete Settings
- Click action button
- Click delete
- Click ok
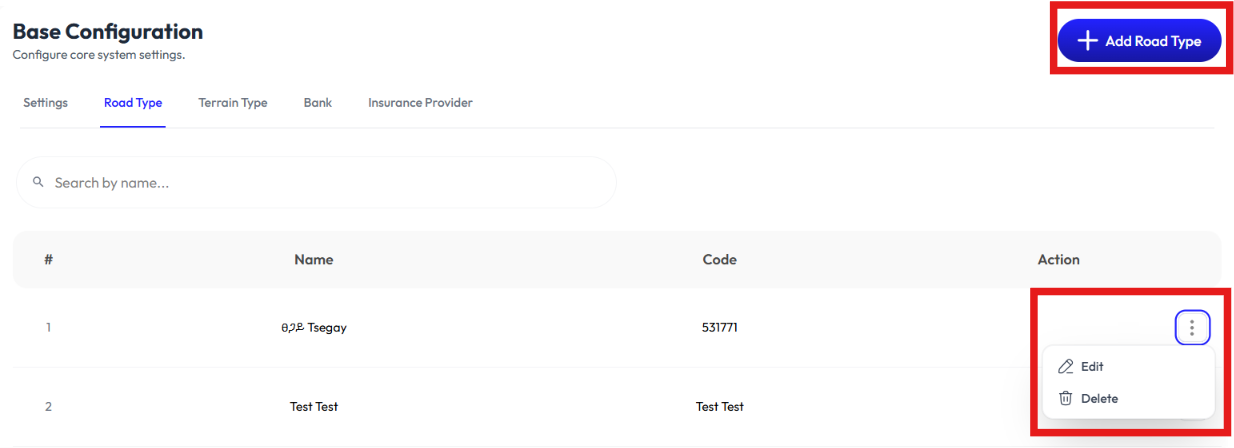
Road Type
- User creates road types using the Add Road Type button.
- User modifies road type's information using the Edit button.
- User removes a road type using the Delete button.
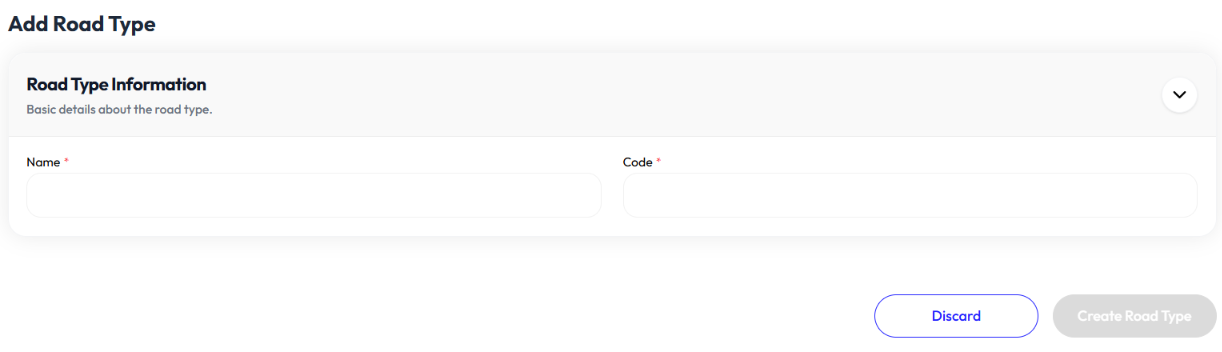
Add Road Type
- Click add road type button
- Enter name
- Enter code
- Click create road type
Edit Road Type
- Click action button
- Click edit
- Update name
- Update code
- Click submit
Delete Road Type
- Click action button
- Click delete
- Click ok
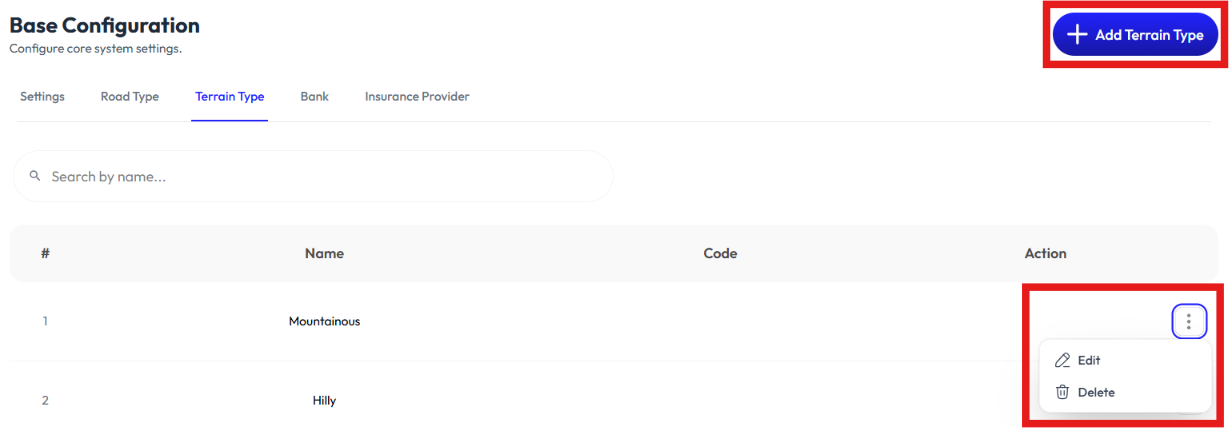
Terrain Type
- User creates terrain types using the Add Terrain Type button.
- User modifies terrain type's information using the Edit button.
- User removes a terrain type using the Delete button.
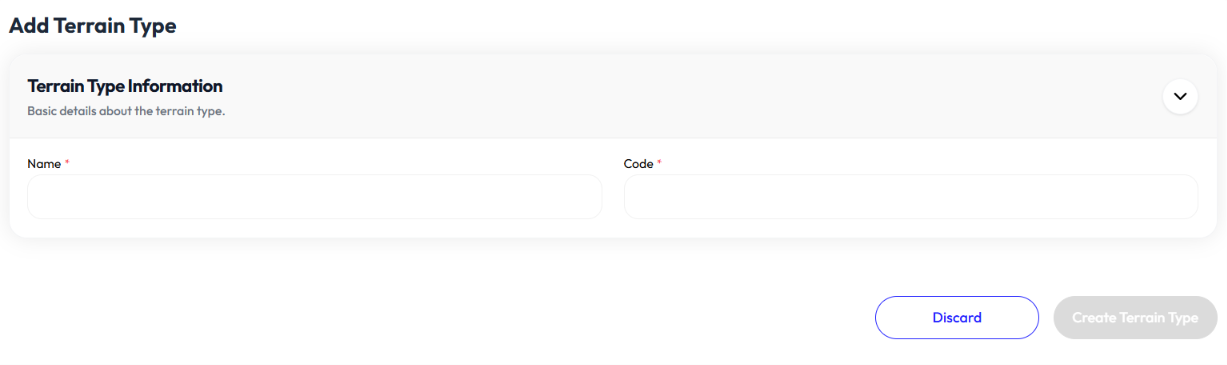
Add Terrain Type
- Click add terrain type button
- Enter name
- Enter code
- Click submit
Edit Terrain Type
- Click action button
- Click edit
- Update name
- Update code
- Click submit
Delete Terrain Type
- Click action button
- Click delete
- Click ok
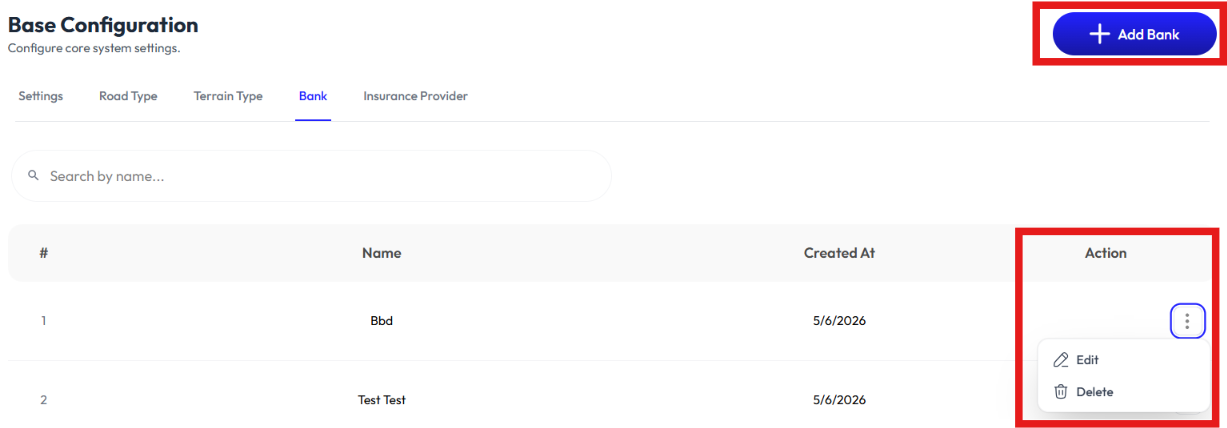
Bank
- User creates banks using the Add Bank button.
- User modifies bank's information using the Edit button.
- User removes a bank using the Delete button.
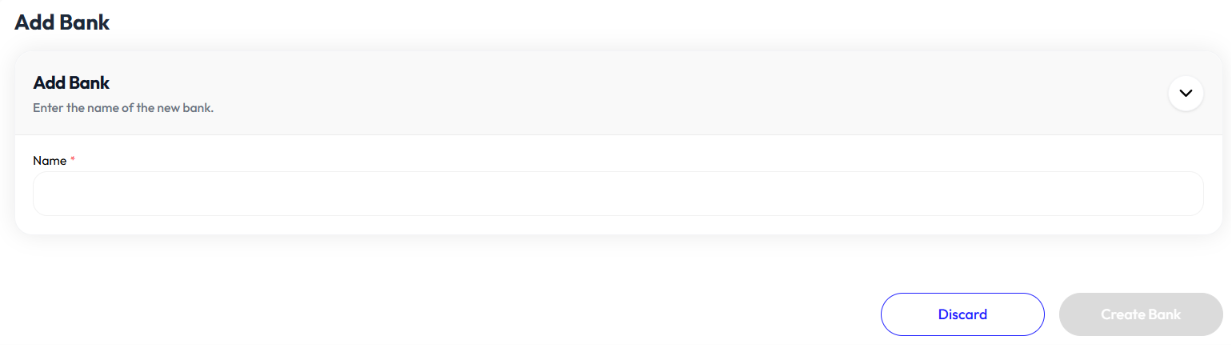
Add Bank
- Click add bank button
- Enter name
- Click submit.
Edit Bank
- Click action button
- Click edit
- Update name
- Click submit.
Delete bank
- Click action button
- Click delete
- Click ok
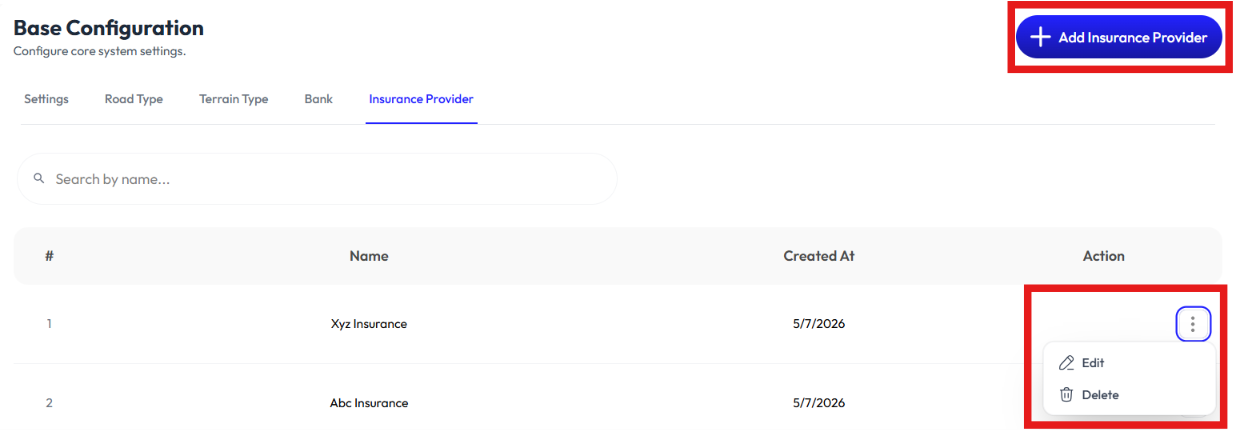
Insurance Provider
- User creates insurance provider using the Add Insurance Provider button.
- User modifies insurance provider's information using the Edit button.
- User removes insurance using the Delete button.
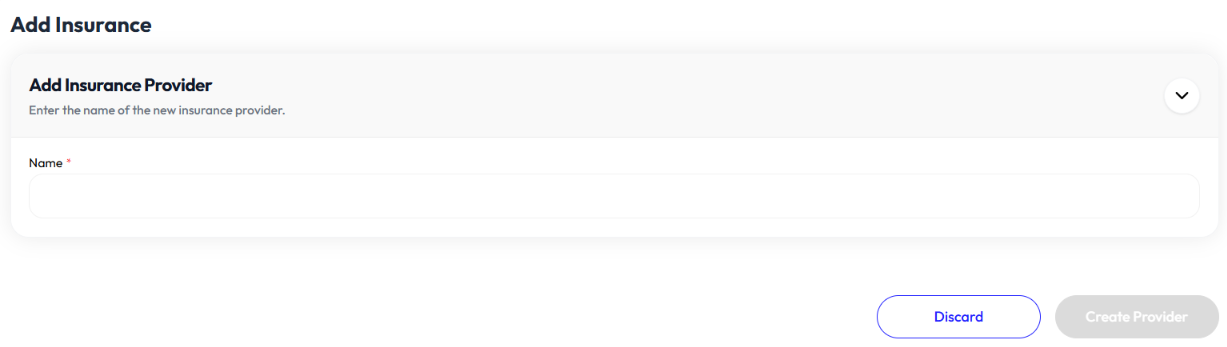
Add Insurance Provider
- Click add insurance provider button
- Enter name
- Click submit.
Edit Insurance Provider
- Click action button
- Click edit
- Update name
- Click submit.
Delete Insurance Provider
- Click action button
- Click delete
- Click ok
Commodity
- User creates commodities using the Add Commodity button.
- User modifies commodity's information using the Edit button.
- User removes commodity using the Delete button.
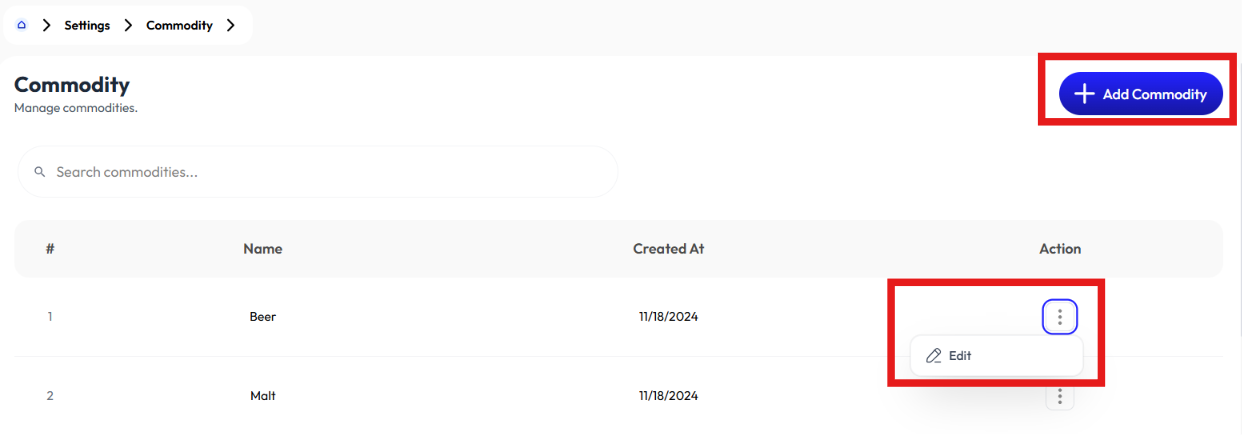
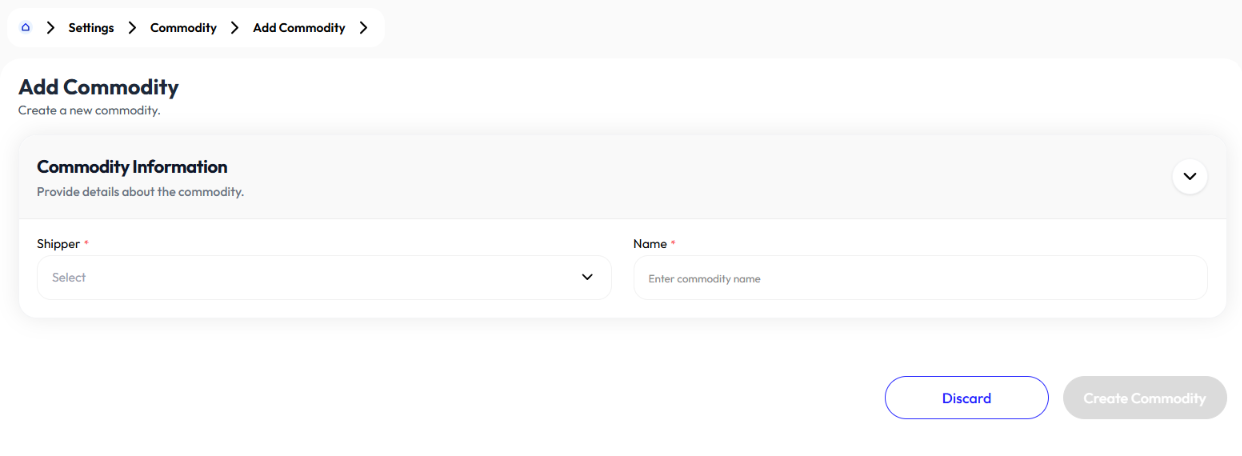
Add Commodity
- Click add commodity button
- Select shipper. To add shipper check Customers
- Enter name
- Click create commodity
Edit commodity
- Click action button
- Click edit
- Select shipper. To add shipper check Customers
- Update name
- Click submit
Delete Commodity
- Click action button
- Click delete
- Click ok
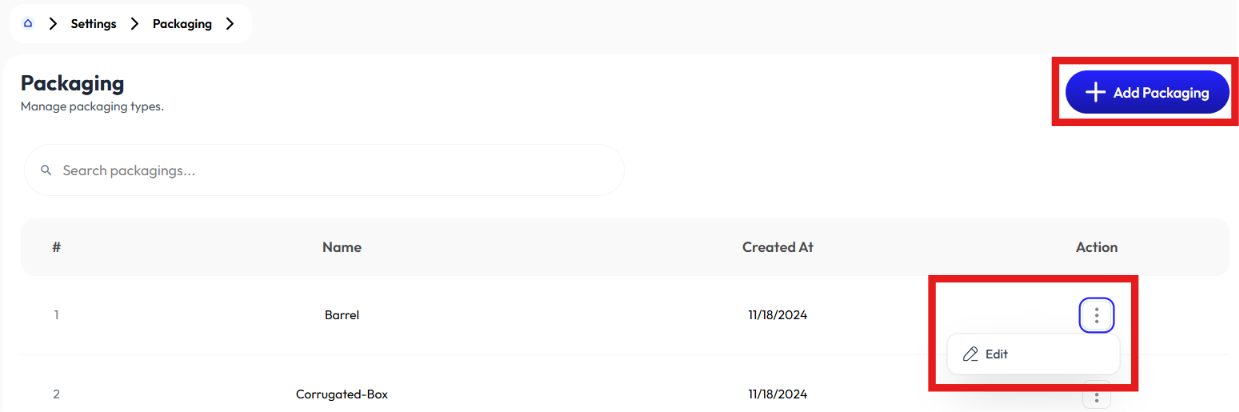
Packaging
- User creates commodities using the Add Packaging button.
- User modifies packaging's information using the Edit button.
- User removes packaging using the Delete button.
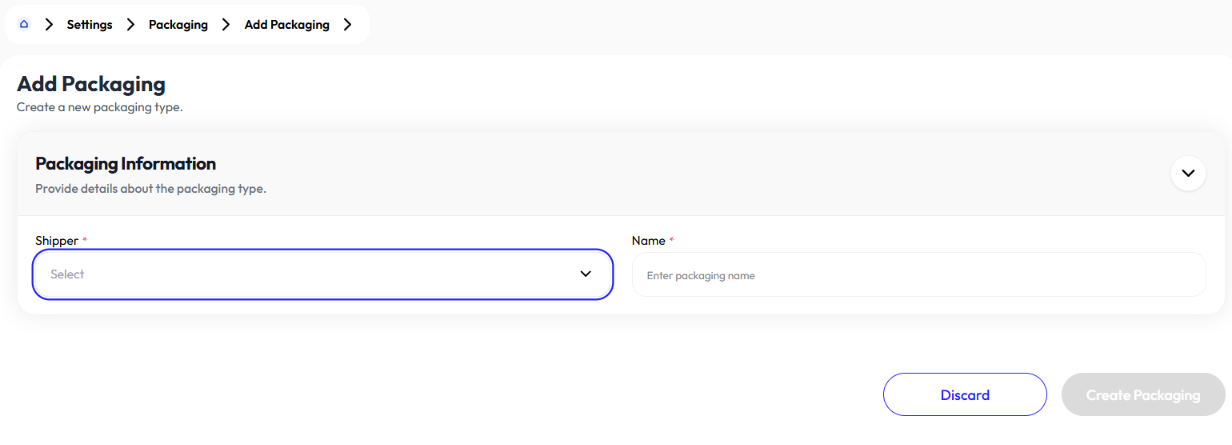
Add Packaging
- Click add packaging button
- Select shipper. To add shipper check Customers
- Enter name
- Click submit
Edit Packaging
- Click action button
- Click edit
- Select shipper. To add shipper check Customers
- Update name
- Click submit
Delete Packaging
- Click action button
- Click delete
- Click ok
Contract
- User creates contract using the Add Contract button.
- User sees Contract Details and modifies routes using the Edit button.
- User removes contract using the Delete button.
Add Contract
- Click add contract button
- Select shipper. to add shipper check Customers
- Select route. to add route check Routes
- Select commodity. to add commodities check Commodity
- Select packaging. to add packaging check Packaging.
- Select agent. to add agent check Agent.
- Select product types (inbound, outbound, and site transfer).
- Click add route button to add more than routes
- Click submit
Contract Details
Add New Route
- Click add new route button
- Select route
- Select commodity
- Select packaging
- Select agent
- Select product types (inbound, outbound, site transfer)
- Click save route
Edit Route
- Click edit button
- Update commodity
- Update packaging
- Update agent
- Select product types (inbound, outbound, site transfer)
- Update waypoint
- Select vehicle type
- Enter amount
- Select type (per km, per quintal, per truck)
- Select product type (inbound, outbound, site transfer)
- Click add pricing to add more than one pricing for a waypoint
- Click save
Delete Route
- Click delete button
- Click delete again
Delete Contract
- Click action button
- Click delete
- Click ok
Route Requests
- Click approve on a route request
- It will take you to Routes section with the relevant information pre-filled from the shipper's request.
Bonus Multipliers
- User creates multipliers using the Add Multiplier button.
- User modifies multiplier's information using the Edit button
- User removes them using the Delete button.
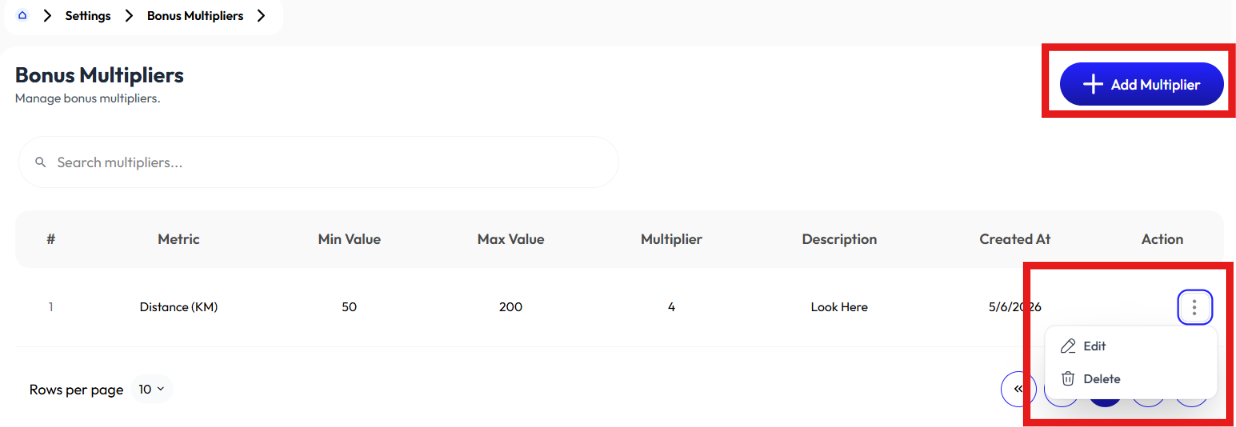
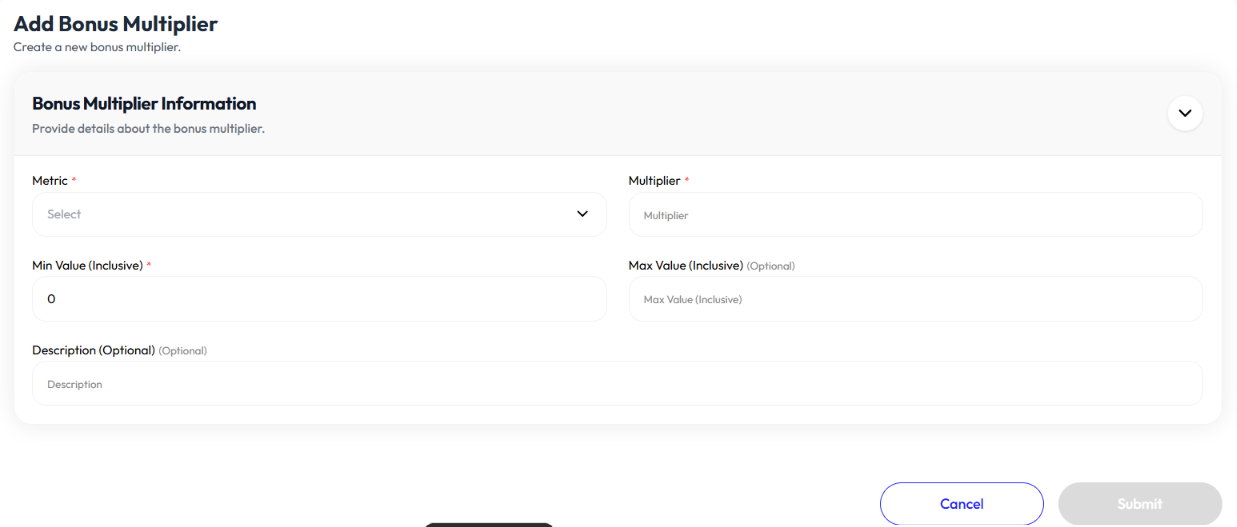
Add Multiplier
- Click add multiplier button
- Select metric (trip count, distance, fuel usage)
- Enter multiplier
- Enter minimum value
- Enter maximum value (optional)
- Enter description (optional)
- Click submit
Edit Multiplier
- Click action button
- Click edit
- Select metric (trip count, distance, fuel usage)
- Update multiplier
- Update minimum value
- Update maximum value (optional)
- Update description (optional)
- Click submit
Delete Multiplier
- Click action button
- Click delete
- Click ok
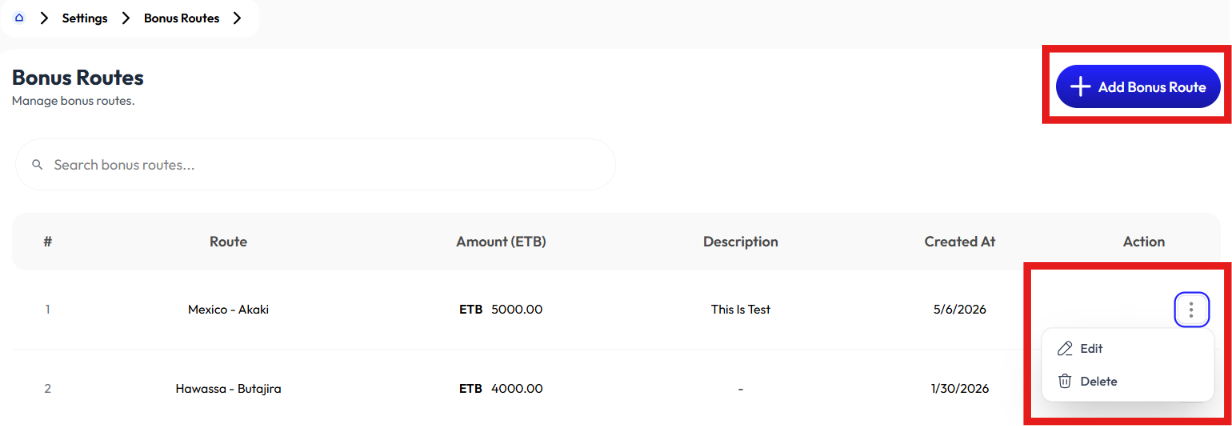
Bonus Routes
- User creates bonus routes using the Add Bonus Route button.
- User modifies bonus route's information using the Edit button
- User removes bonus routes using the Delete button.
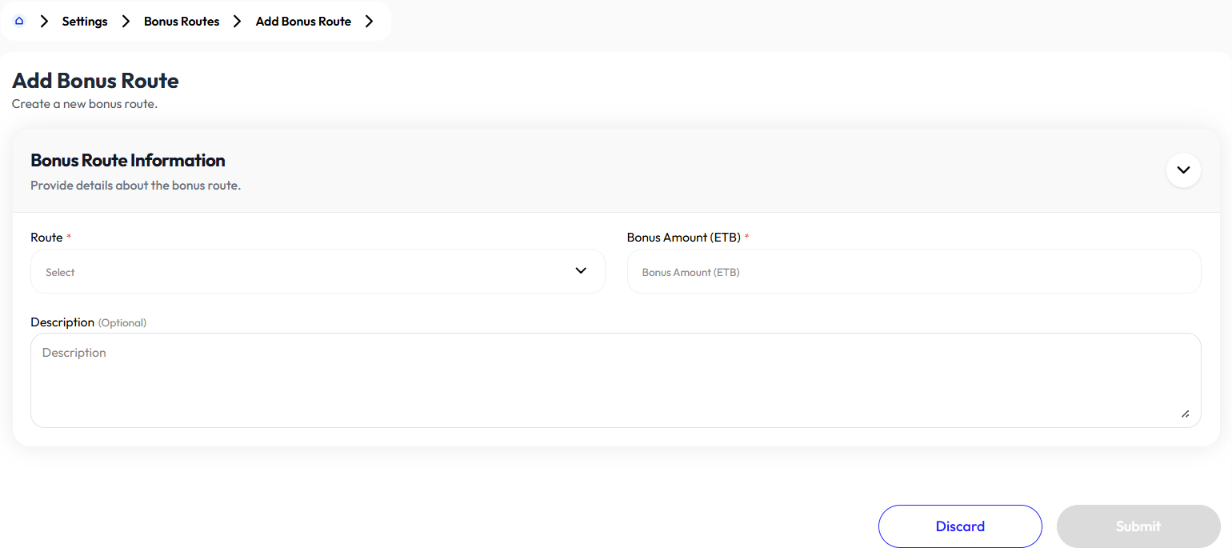
Add Bonus Route
- Click add route bonus button
- Select route. to add route check Routes
- Enter bonus amount
- Enter description (optional)
- Click submit
Edit Bonus Route
- Click action button
- Click edit
- Select route. to add route check Routes
- Update bonus amount
- Update description (optional)
- Click submit
Delete Bonus Route
- Click action button
- Click delete
- Click ok
Announcements
- User creates announcements using the Add Announcement button.
- User deletes announcement's using the Delete button.
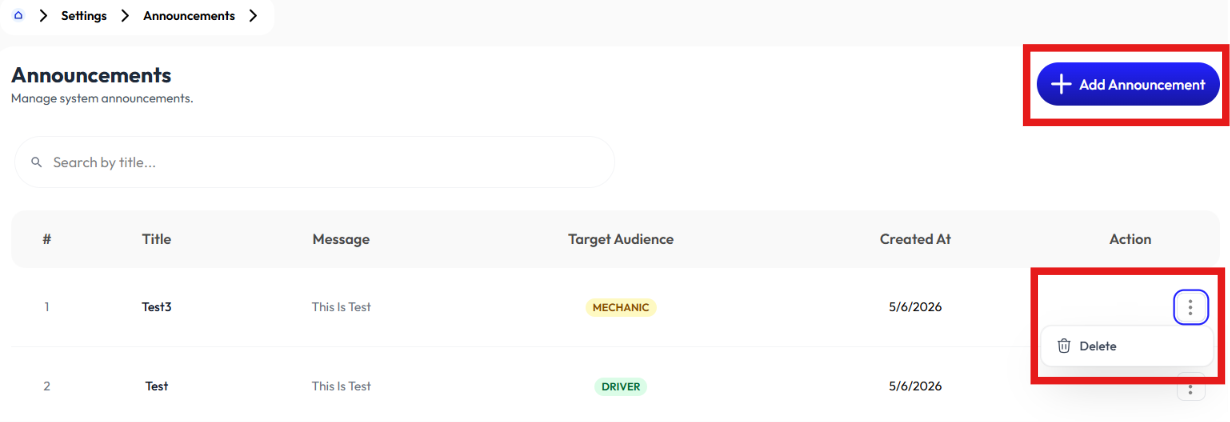
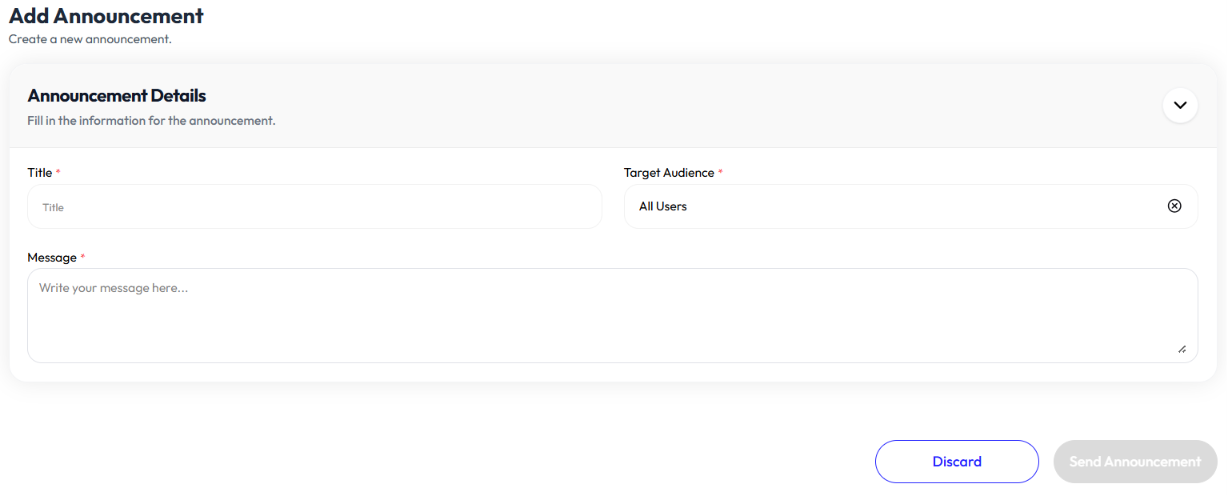
Add Announcement
- Click add announcement button
- Enter Title
- Enter message
- Select target audience
- Click send announcement
Delete announcement
- Click action button
- Click delete
- Click ok